This post solves all the problems related to installing and running Adobe Acrobat XI on Windows 11 including the “run for 10 seconds and crash bug”
- If you have other Adobe products that you are having issues with please contact us so we can help you
How to install Adobe Acrobat XI or the Upgrade
NOTE: To ensure success, we recommend you first read the instructions then follow the steps precisely as documented including using the same folder names and paths.
- Obtain your purchased copy of the Longbow Reviver App here (you will need V4.41 or newer)
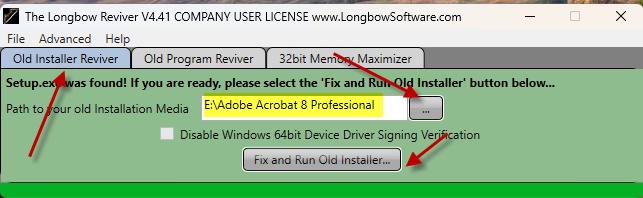
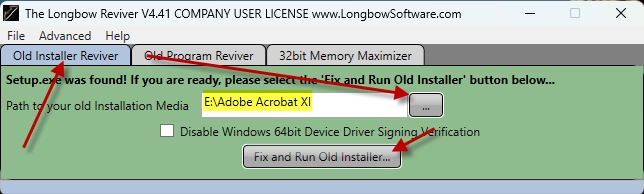
- Start the Reviver App and note the user interface
- Insert your Adobe Acrobat CD into the CDRom drive and back in the Reviver App…
- From the “Old Installer Reviver” tab, use the ‘…’ button to pick your Adobe Acrobat XI CD Drive and the subfolder called “Adobe Acrobat XI” e.g. D:\Adobe Acrobat XI
- Now click the ‘Fix and Run Old Installer‘ button
- Follow the instructions for copying the CD
- Once the CD is copied the Reviver App will run a process on the copy of the CD, then automatically launch the setup application….
- Be patient as the process can take up to 45 minutes
- Once the setup appears, stop and read the next step
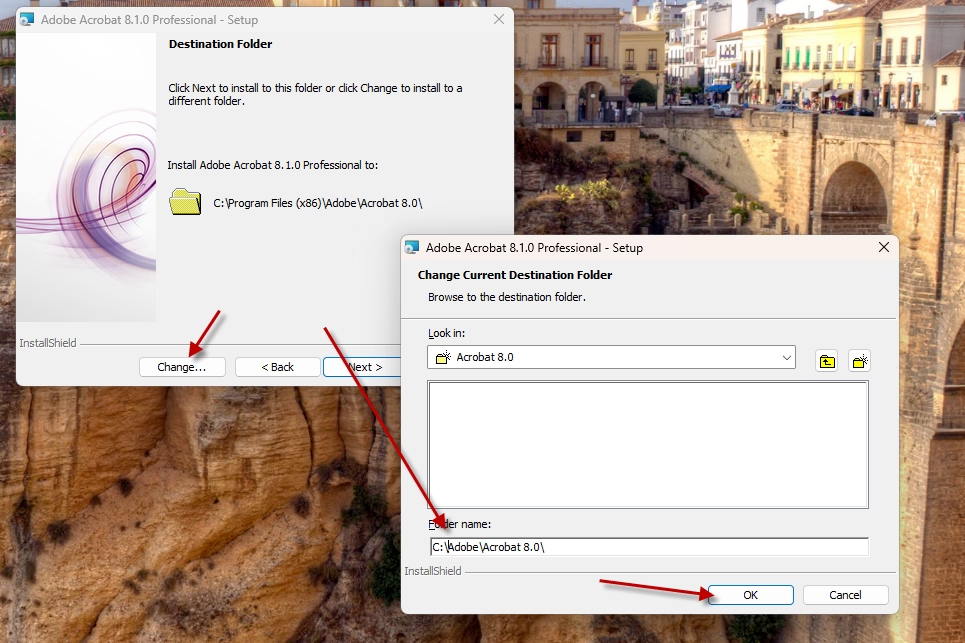
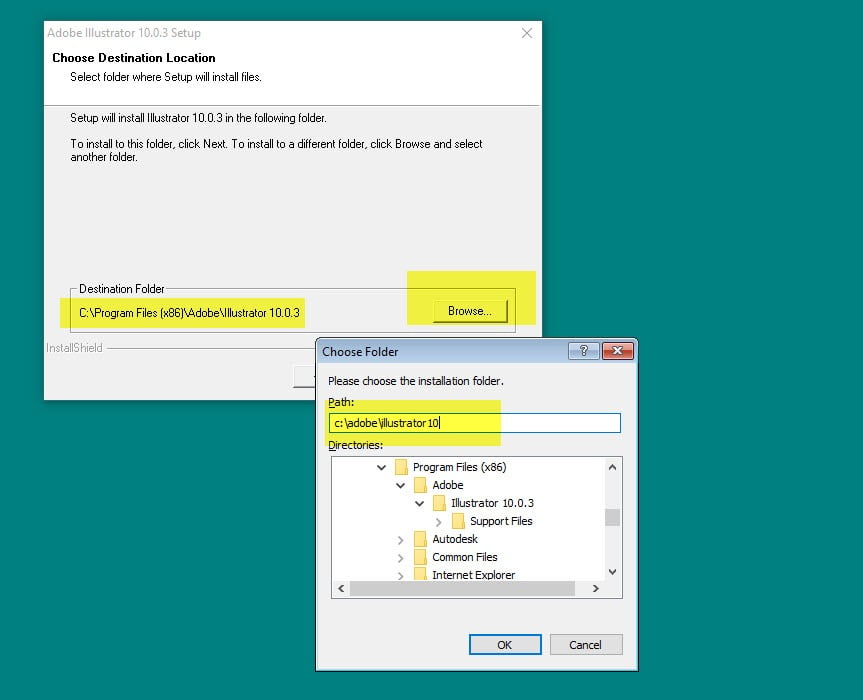
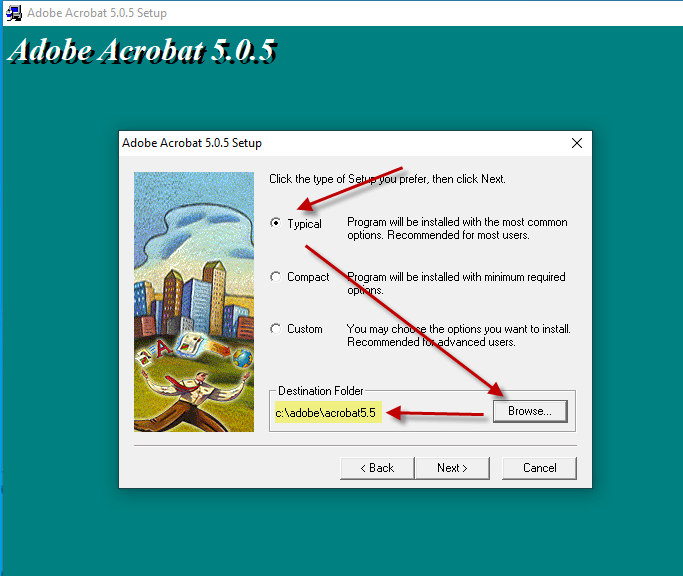
- Once the setup application appears, enter your information as normal except when you get to the “Setup Type” dialog, click Custom then change the installation path…
- you **must** change the default path to c:\adobe\acrobat 11.0 (see image below)
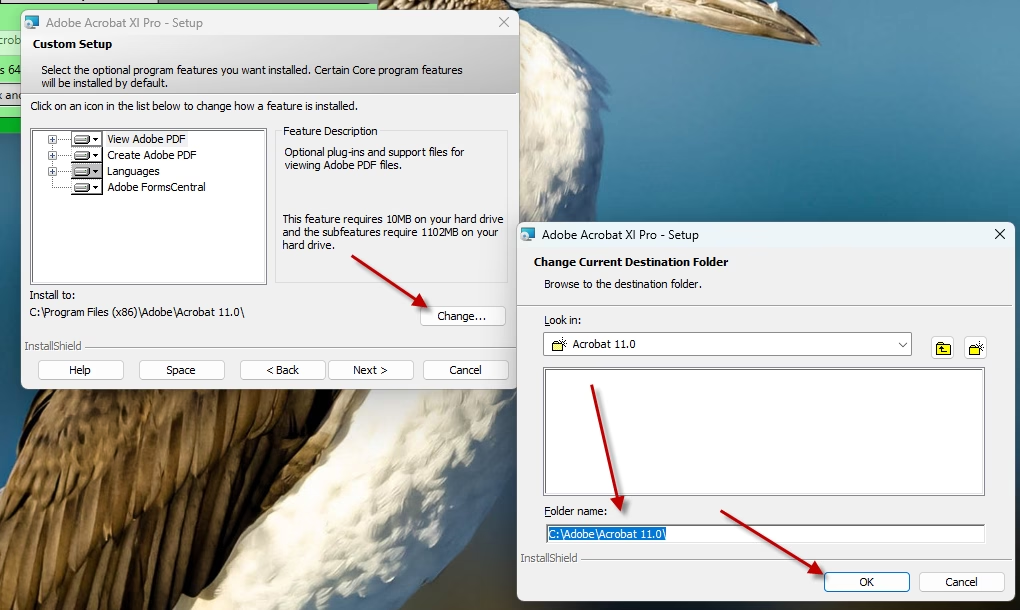
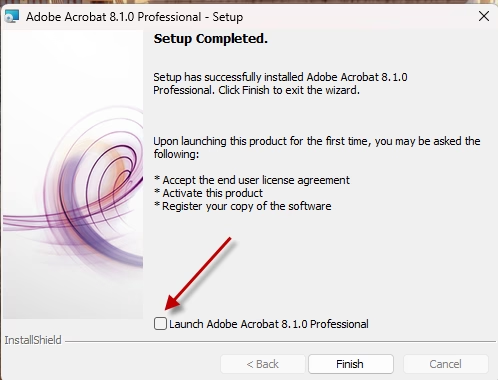
- Once you have changed the installation folder, install as normal – do not reboot the PC if prompted to do so
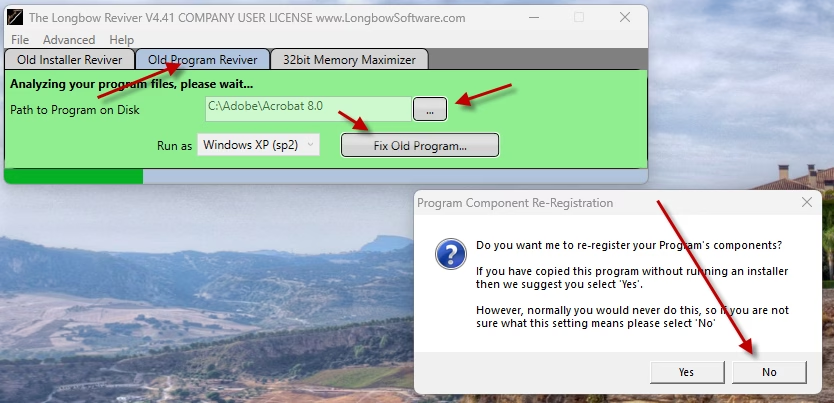
- Now back in the Reviver App, pick the “Old Program Reviver” tab
- Using the “…’ button select the newly installed c:\adobe\acrobat 11.0 folder
- Click Run As and select Windows Vista
- Click Fix Old Program
- If prompted to “…re-register your program’s components…”, click NO
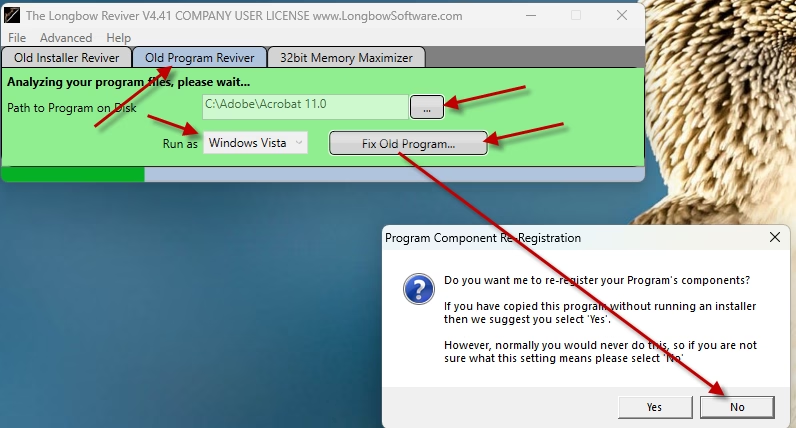
- If prompted to “…re-register your program’s components…”, click NO
- you **must** change the default path to c:\adobe\acrobat 11.0 (see image below)
- Now the revival process is completed…
- Download, unzip and install Acrobat Update 11023 (AcrobatUpd11023.msp) from here
- Reboot your PC
- Run Adobe Acrobat XI as normal
Troubleshooting
- no notes yet
Copyright 2026 (c) Longbow Software