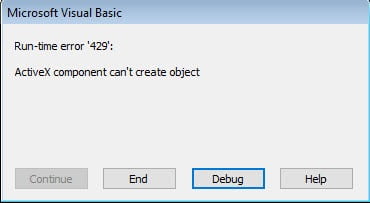
If you are having trouble installing AutoCAD 2002 Express Tools with “This app cannot run on your PC” then read on…
Installing AutoCAD 2002 Express Tools (et1-9.exe) on Windows 7, Windows 8 and Windows 8.1 32bit or 64bit can be very easily defined in these short steps.
A quick word of advice: best to follow the instructions below precisely and to the letter, including folder names and paths, that way you will reduce the risk of having any problems…
- Obtain your copy of the Longbow Converter here
- Next, make sure you have AutoCAD 2002 already installed – follow these steps Installing AutoCAD 2002 on Windows 7, Windows 8 and Windows 10
- Unzip this zip file to c:\Autodesk
- Start the Longbow Converter tool, select the 2nd tab, pick the newly created c:\Autodesk\ExpressTools2002 folder, and click Run. Read and understand all the prompts before pressing OK.
- Now, I know it’s unheard of these days, but at this point expect to wait at least 45 minutes for your AutoCAD 2002 Express Tools setup.exe program to fully appear. Once the setup starts, stop and read the next step…
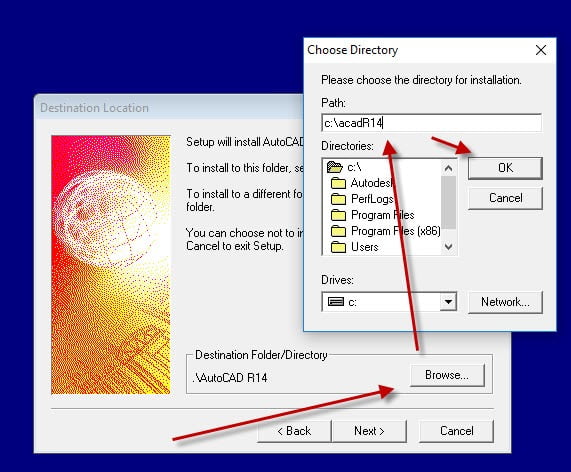
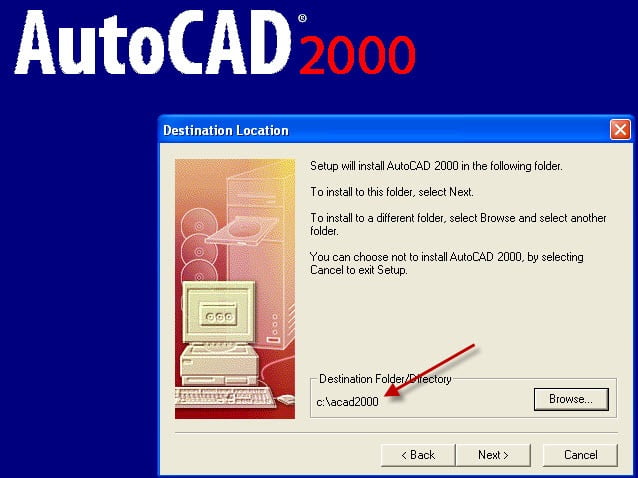
- In the setup program, navigate through each setup dialog as normal, except when you get to the installation folder, **it’s vitally important to make sure you install to c:\acad2002Et (not Program Files (x86)\AutoCAD Express Tools 2002 as usually prompted)**
- Do not reboot if prompted to do so
- Now you can happily run your Express Tools inside of AutoCAD 2002, simply start AutoCAD 2002 and to use Express Tools 2002 as normal..
Troubleshooting:
- If your Express Tools 2002 setup is not starting after 45 minutes, try rebooting, then restart the steps above. If it is still failing, most likely it’s because of another application on your system which is preventing our setup routine from starting (perhaps anti-virus, or similar) – try the same steps as above in Windows Safe Mode
Copyright 2015 (c) Longbow Software