Most current AutoCAD R2 ADT users are very used to the software package and cannot do without it. With the latest hardware and required move to new Windows versions, trying to install your AutoCAD ADT gives an error like this one…

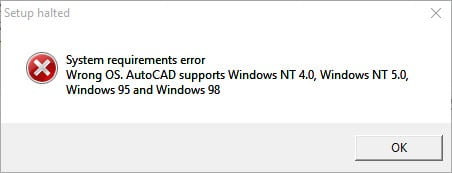
Windows 16bit setup error – This app can’t run on your PC
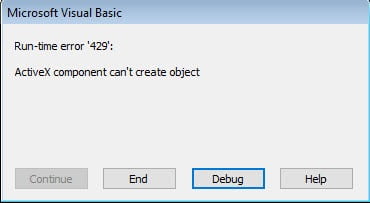
Or maybe this error…
Error while trying to install AutoCAD ADT R2
…all is not lost, just read on…
Installing AutoCAD Autodesk Architectural Desktop R2i (AutoCAD 2000) on Windows 10, Windows 7, Windows 8 or Windows 8.1 32bit or 64bit can be very easily defined in these short steps…
NOTE: These steps do not bypass normal Autodesk licensing/authorization, you should expect to use your own serial numbers in the normal way.
Obtain your copy of the Longbow Converter here
- Using Windows Explorer…
- Copy your entire AutoCAD Autodesk Architectural Desktop 2i installation CD to your hard drive, to a folder path named exactly c:\Autodesk\CDs\adt2000 e.g.
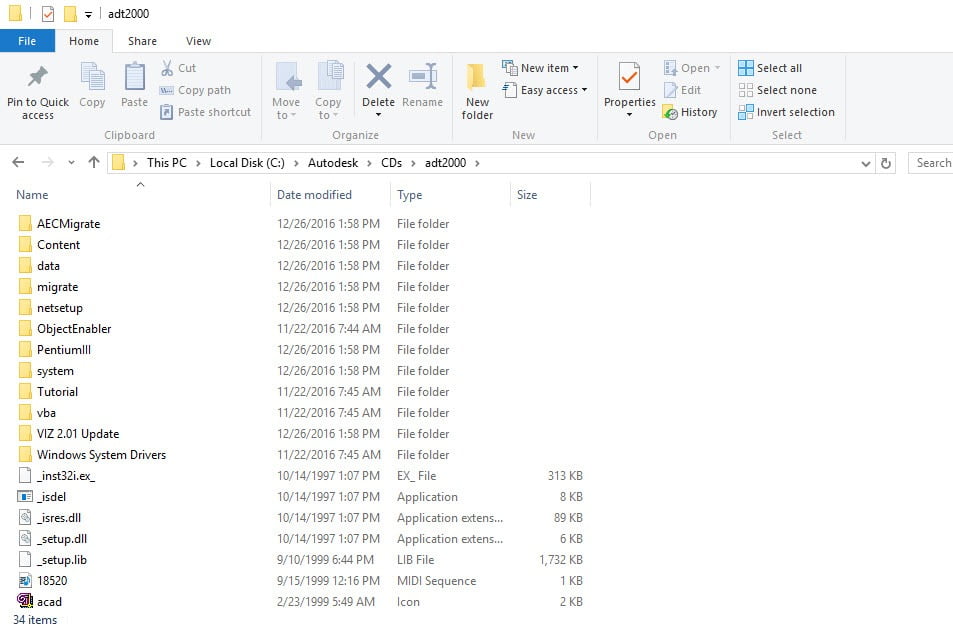
Copy ADT 2000 CD to c:\Autodesk\CDs\adt2000
- Copy your entire AutoCAD Autodesk Architectural Desktop 2i installation CD to your hard drive, to a folder path named exactly c:\Autodesk\CDs\adt2000 e.g.
- Start the Longbow Converter tool
- Select the 2nd tab named “Old AutoCAD Installer Reviver“
- Pick the c:\Autodesk\CDs\adt2000 folder
- Now click “Run Old Installer”.
- The process will take a few moments to complete, then a dialog will appear – read and understand all the prompts before clicking OK.
- For ADT 2000, the Migration Wizard almost instantly pops up, simply click Install 2000 as normal.
- Now, I know it’s unheard of these days, but at this point expect to wait at least 45 minutes for your ADT R2i setup.exe program to fully appear.
- Once the setup starts, stop and read the next step…
- In the setup program…
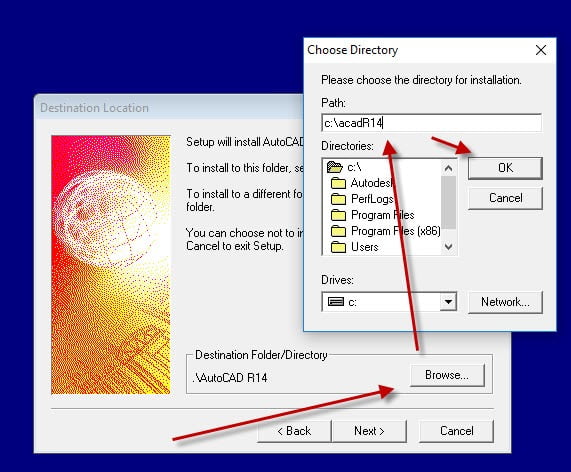
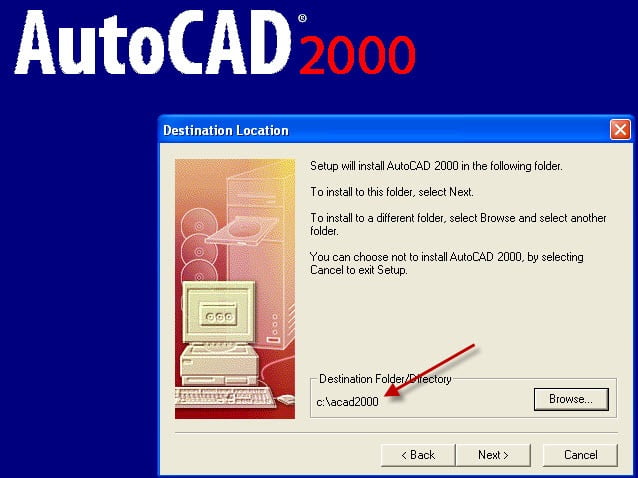
- navigate through each setup dialog as normal except when you get to the installation folder… **it’s vitally important to make sure you install to c:\adt2000 (not “c:\Program Files (x86)\AutoCAD Architectural Desktop” as usually prompted)**
- During the final stages of the installation, simply ignore the fact the the ADT shortcut cannot be created, you will need to create this by hand once the installation is finished.
- Do not reboot if prompted to do so
- Once installed
- Go back to the Converter tool
- Select the 3rd tab named “Old AutoCAD Program Reviver“
- Pick the newly installed c:\adt2000 folder and click ‘Fix Old Program‘.
- Now you can happily run your AutoCAD Autodesk Architectural Desktop 2i in Windows 7, Windows 8 and Windows 10!
- Simply use Windows Explorer, navigate to c:\adt2000 and double click acad.exe (you will need to manually create a shortcut as mentioned in step (4.a)
- Download AutoCAD 2000 sp1 from here
- Unzip your newly downloaded sp to folder path c:\Autodesk\sp
- Start the Converter, select the 2nd tab, pick the c:\Autodesk\sp\AutoCAD 2000 sp1 folder and click ‘Run’
- Wait for the setup to appear, it could take up to 45 minutes, then install as normal
Installing AutoCAD 2000 Service Pack 2
- Download AutoCAD 2000 sp2 from here
- Unzip your newly downloaded sp to folder path c:\Autodesk\sp
- Start the Converter, select the 2nd tab, pick the c:\Autodesk\sp\AutoCAD 2000 sp2 folder and click ‘Run’
- Wait for the setup to appear, it could take up to 45 minutes, then install as normal.
Troubleshooting: