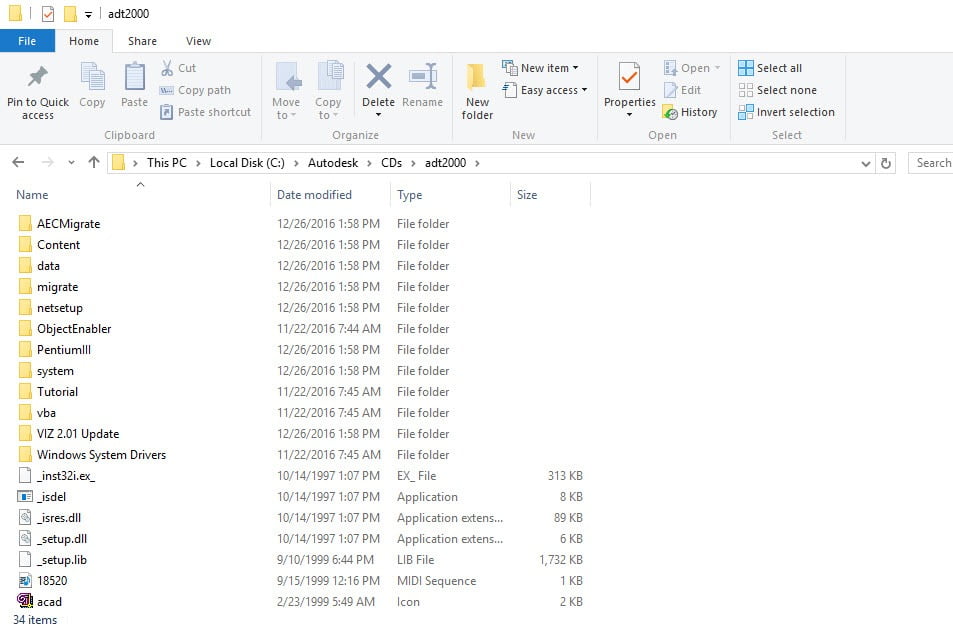
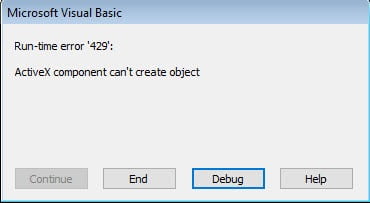
NOTE: This blog post specifically solves issues related to these error messages on installation…
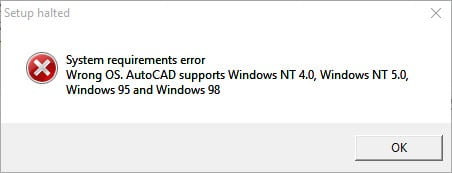
- “This operating system is not supported by AutoCAD® Civil 3D® 2011”
- “You cannot install this product on the current operating system”
- “You are attempting to use a 32-bit installer on a 64-bit operating system”
- “This is a 32-bit AutoCAD® Civil 3D® 2011. It cannot be installed on 64-bit Windows”
Installing AutoCAD Civil 3D 2011 32bit on Windows 7, Windows 8, Windows 8.1 or Windows 10 64bit can be very easily defined in these short steps…
NOTE: These steps do not bypass normal Autodesk licensing/authorization, you should expect to use your own serial numbers in the normal way.
- Obtain your copy of the Longbow Converter here
- If you have CDs:
- Using Windows Explorer, copy Disk 1 of your Civil 3D 2011 CD to your hard drive, to a folder path c:\Autodesk\Civil3d2011
- Next, copy Disk 2 of your Civil 3D CD directly over the top of Disk 1, overwrite all files in your previously copied c:\Autodesk\Civil3d2011 folder
- Same again for Disk 3
- If you have a single self extracting exe downloaded from Autodesk
- Run the exe, it will ask to unzip to a folder inside of c:\Autodesk, make a note of the folder for later use (we’ll refer to it from here as c:\Autodesk\Civil3d2011), now click OK. Wait until all of the files have extracted, when they do, the Civil 3D 2011 setup will automatically launch – simply close it and move to the next step.
- Now, start the Longbow Converter tool, select the 1st tab, pick the c:\Autodesk\Civil3d2011 folder, and click the Convert button.
- Once the conversion process is complete, click Install/Run Setup to start setup. Simply install as normal.
- Windows 8, Windows 8.1 and Windows 10 users: Once the installation process is complete, go back to the Converter, select the 3rd tab, pick the newly installed C:\Program Files (x86)\AutoCAD Civil3d 2011 folder, then click Fix.
- Now you can happily run your Civil 3D 2011 32bit on Windows 10, Windows 7 and Windows 8 64bit.
Installing the 32bit Civil 3D Service Packs
We recommend that you download and install the latest Service Packs from Autodesk which can be found here. NOTE once installed, no need to re-run the Converter App
Troubleshooting:
– If you are unable to activate your product, or the activation process crashes:
- Try uninstalling the July 2014 Microsoft security update
- Try downgrading your Internet Explorer (IE) from version 11 to version 10 by following the instructions detailed here
– If you have crashing problems using the File->Open or File->Save dialogs inside of AutoCAD please read this blog entry on the File->Open or File->Save Crash in AutoCAD

